Contents
Start Your Doujinshi Circle: Roles, Budget, First Event
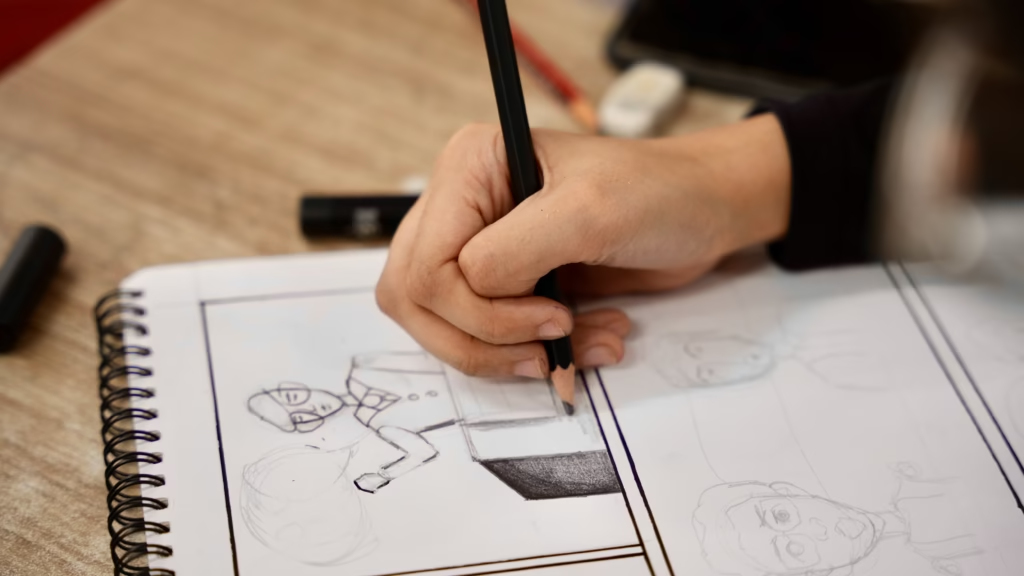
When I first joined two friends to create a small doujinshi circle, none of us knew how to handle money, printing, or even how to greet strangers at a convention. We only knew how to draw pages late into the night. Our first show was chaotic—our table was messy, our books were underpriced, and yet someone smiled and said, “I’ve been waiting for this.” That moment made all the stress worth it.
A doujinshi circle doesn’t need to be perfect. It needs to exist. This guide blends practical steps with the lessons you only learn by trying.
What You’ll Build (and Why It Works)
A doujinshi circle is a creator-led micro-studio. Unlike a company with rigid departments, circles are fluid. Everyone often writes or draws, but you still benefit from loosely defined roles—someone checks print files, someone handles money, someone watches the table.
Key outcomes:
- A finished book with proper specs (bleed, margins, spine)
- A simple but professional table kit
- Shared responsibilities to prevent burnout
- A quick post-event system to turn buyers into long-term readers
Defining Core Roles (Flexible in Reality)
In theory, you can divide roles like a studio. In practice, a doujinshi circle is flexible: all members usually create, and tasks overlap. For example, the inker may also collect cash, while the writer designs the price board. These roles are examples, not strict assignments.
1) Lead Creator (Art/Story)
Final art, tones, lettering, export. Usually overlaps with others.
2) Print Captain
Checks trim size, bleed, ICC profiles, and communicates with printers.
3) Finance & Operations
Tracks costs, prepares QR/cash box, ships books.
4) Sales & Community
Greets visitors, posts updates, manages bundles.
5) Runner/Assistant (optional)
Handles breaks, restocks, errands.
Lessons on Budget
At my first event, I assumed prints would sell better than books. I was wrong. Stickers sold out before noon, while half the books came home. Lesson: don’t over-invest in fancy merch early. Test small, then adjust.
| Category | Qty/Spec | Est. Cost (USD) |
|---|---|---|
| Book (B6, 40p) | 150 copies @ $3.40 ea | $510 |
| Merch (Stickers) | 100 packs @ $0.60 ea | $60 |
| Table Fee | 1 table | $80–$120 |
| Signage & Stands | A4 sign, card stands | $25 |
| Packaging | OPP bags, backing boards | $30 |
| Payment Fees | ~3% of sales | $25–$45 |
| Transport/Shipping | Books to venue | $40–$90 |
| Contingency (10%) | Safety buffer | $80–$100 |
90-Day Timeline (with Real Mistakes)
- Week 1: Lock scope and trim size, create checklist and style sheet.
- Week 2–3: Once I delayed lettering until the end—it pushed print two days late. Letter as you go.
- Week 4: First preflight: page order, bleeds, profiles, soft proof spreads.
- Week 5: Send to printer, order merch, prepare payments.
- Week 6: Rehearse table layout. My setup time dropped from 40 minutes to 10.
- Week 7–8: We once spotted a typo the night before the con—because we skipped spot-checking. Never again.
- Event Week: Rest, track sales by hour, collect emails.
- +48 Hours: Post photos, restock shop, send thank-you, log learnings.
Table Setup & Sales Tactics
- Place book covers at eye level, show one open copy
- Use one large price board; fewer SKUs mean faster choices
- Add “New!” tags and bundle pricing
- Practice a 10-second pitch: title, genre, length, price
- Track sales by hour to discover peak windows
Aftercare
The first time I emailed buyers, only three replied—but they became lifelong fans, buying every new release. Even a tiny mailing list matters.
One-Page Checklist (Print & Tape to Box)
- Final PDFs, test print, backup
- Count and pack books in tens
- Price board, signage, stands, tape
- QR code, cash box, change float
- Inventory sheet, pen, email signup sheet
- Repair kit, sanitizer, snacks, water
- Post-event: photos, shop update, thank-you post
External Sources
- First time at COMITIA
- Comic Market: Information for International Participants
- Comike WebCatalog International
- What is pixivFACTORY?
- Mixam: Comic Book Printing
- PrintNinja: Design a Manga
- Book Printing File Setup Guide (PrintNinja)
FAQ
Q1. How many books should I print for the first run?
Start with 50–200 copies if budget allows; target at least 50% margin.
Q2. Which trim size is best for beginners?
B6 or A5 are economical and widely supported by printers.
Q3. Do I need an assistant at my first event?
Not required, but a helper improves sales and prevents burnout.
Q4. Should I accept QR/card payments?
Yes. QR increases conversion and average order value; keep a small cash float.
Q5. How should I set prices?
Calculate unit cost + fees, then price at 2×–2.5× cost. Use bundle deals to anchor value.