Contents
- Doujinshi Printing: Specs, Costs, and Mistakes to Avoid
- Why Printing Matters in Doujinshi Culture
- Step 1: Choosing Size and Trim
- Step 2: Paper Weight and Feel
- Step 3: Understanding Bleed, Trim, and Safe Area
- Step 4: Digital vs. Offset Printing
- Step 5: Cost Structure and Estimation
- Step 6: Working with Printers
- Step 7: Managing Inventory and Sales
- Step 8: Binding and Extras
- Step 9: Common Mistakes to Avoid
- Step 10: The Emotional Side of Printing
- Conclusion: Printing as an Ongoing Experiment
- External Links
Doujinshi Printing: Specs, Costs, and Mistakes to Avoid
Why Printing Matters in Doujinshi Culture
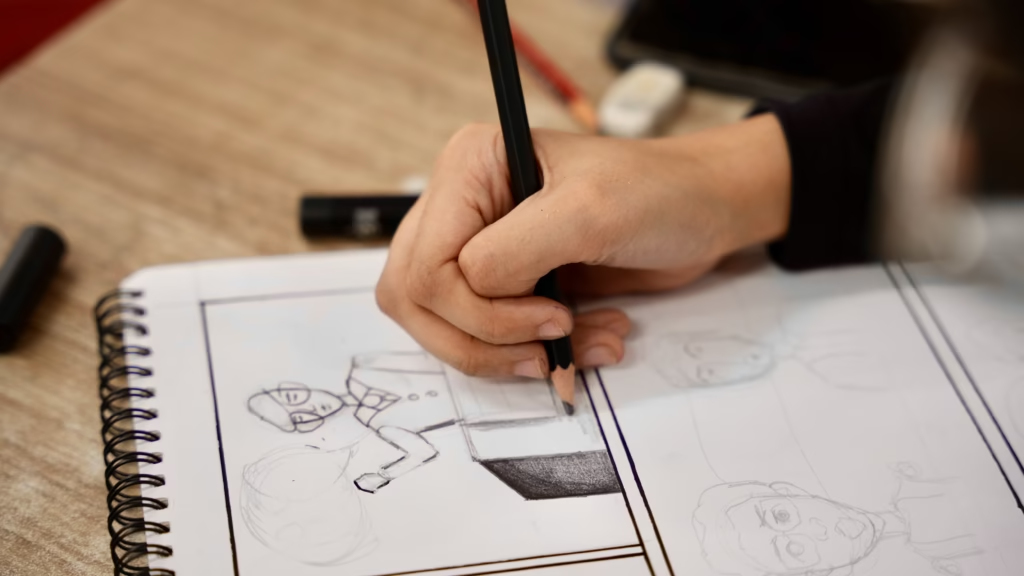
In the world of independent comics and doujinshi, printing is more than just a technical process—it’s a rite of passage. Holding your first printed book in your hands transforms digital sketches into something real. But along with that excitement comes a maze of choices: paper weight, trim size, print runs, and the constant balance between cost and risk.
When I prepared my first doujinshi, I knew almost nothing about printing. I stumbled through jargon like “bleed,” “lamination,” and “offset vs. digital.” The truth is, most first-time creators start in the same fog. The good news? Printers themselves are usually your best allies. The staff at printing companies are used to helping beginners, and every time I was confused, simply asking them cleared things up. If you take away nothing else from this guide, remember this: when in doubt, ask your printer.
Step 1: Choosing Size and Trim
Most doujinshi are printed in either B5 (176 × 250 mm) or A5 (148 × 210 mm).
- B5 is the standard size for manga anthologies in Japan, giving panels enough breathing room.
- A5 is smaller, portable, and cheaper to print, often used for light novels or text-heavy works.
I once tried to save money by choosing A5 for a comic that had detailed artwork. The lines felt cramped, and the text balloons looked oversized. The lesson: choose size based on content, not just budget. If your art thrives on detail, B5 is safer. If it’s text-driven or light-hearted, A5 works fine.
Step 2: Paper Weight and Feel
Paper is the skin of your book. Typical options:
- Interior pages: 110–135gsm uncoated paper (matte, good for text and line art).
- Cover stock: 220–260gsm, often laminated (matte lamination feels modern; gloss gives a flashy look).
In my early days, I didn’t understand the difference. I once used glossy interior paper for a sketchbook. Every smudge and fingerprint showed up, and the glare made it hard to read under light. Ever since then, I stick to uncoated matte stocks unless I specifically want that shiny effect.
Remember: your readers will touch your book as much as they read it. That tactile experience matters.
Step 3: Understanding Bleed, Trim, and Safe Area
- Bleed: 3 mm extra margin to avoid white edges after cutting.
- Trim: the exact finished size.
- Safe area: 5–10 mm inside trim, where no important text or art should cross.
On my very first print run, I ignored bleed guidelines and ended up with text dangerously close to the edge. The printer kindly adjusted it, but it was a wake-up call. Nowadays, I double-check every page template before export.
Step 4: Digital vs. Offset Printing
- Digital printing: Best for short runs (50–200 copies). Quick turnaround, lower upfront cost.
- Offset printing: Higher quality, economical for 300+ copies, but more expensive initially.
I once went all-in with offset, thinking I would sell 300 copies easily. I didn’t. Boxes of unsold books sat under my desk for months, silently judging me. That mistake taught me the importance of testing demand. Now, my rule is simple: start small, reprint if needed. It’s better to sell out and print again than drown in unsold stock.
Step 5: Cost Structure and Estimation
Typical cost components:
- Setup fee: File processing, plate making (for offset).
- Per-page cost: Paper + ink.
- Finishing: Binding, lamination, extras like spot UV.
- Shipping: Often overlooked, but significant for heavy boxes.
Example (B5, 120 pages, 100 copies):
- Unit cost: $2.50–4.00
- Retail price: $8–12
- Wholesale discount: 40–50%
I once forgot to factor in shipping. My profit evaporated because the delivery to the event hall cost almost as much as printing itself. Always include shipping in your budget.
Step 6: Working with Printers
Your printer is not your enemy—they are your collaborator. Send them clean files, ask questions, and respect their deadlines.
When I was confused about cover lamination, I emailed the printer. Their staff sent me photos of previous works and explained the pros and cons. That single email exchange saved me from a poor decision.
Tip: Build a relationship. Printers often remember repeat clients and may even suggest discounts or special options once they trust you.
Step 7: Managing Inventory and Sales

Inventory is both a blessing and a curse. Too few copies, and you’ll miss sales. Too many, and you’ll drown in cardboard.
My biggest mistake was printing 300 copies for my first book. I sold maybe 70. The rest became a mountain of unsold stock. From that point, I decided: first print runs should be small. 50 or 100 copies is safer. If demand exceeds supply, a reprint is always possible.
Another hard-learned lesson: always factor in storage. Unsold books take up space, gather dust, and gnaw at your confidence. Inventory management isn’t glamorous, but it’s survival.
Step 8: Binding and Extras
Binding styles:
- Saddle-stitch (stapled): Cheap, best for ≤40 pages.
- Perfect binding (glued spine): Professional, standard for thicker books.
Extras: spot UV, foil stamping, colored inserts. They look stunning but can triple your costs. I once splurged on foil stamping for a book that barely sold. It looked great, but financially it was a disaster. Save the fancy finishes for when you’re sure the book will sell.
Step 9: Common Mistakes to Avoid
- Printing too many copies. Start small.
- Ignoring bleed/safe areas. Always use templates.
- Underestimating shipping/storage costs. Factor them in early.
- Skipping test prints. Proofs catch errors you don’t see on screen.
- Overcomplicating design. Keep covers readable and spines simple.
Step 10: The Emotional Side of Printing
Printing is not just logistics—it’s emotional. The first time I opened a box of freshly printed doujinshi, I was overwhelmed. The smell of ink, the crispness of the pages, the weight in my hands—it felt like validation.
But there were also disappointments: crooked cuts, unexpected color shifts, piles of unsold stock. Each print run carries both pride and risk. Accepting that emotional rollercoaster is part of the doujinshi creator’s life.
Conclusion: Printing as an Ongoing Experiment
Doujinshi printing is a journey of trial and error. No one gets it perfect the first time. What matters is learning from each run, adjusting your choices, and remembering that you are not alone in this manga artist struggle.
Whenever I face uncertainty, I go back to the basics: talk to my printer, start small, and keep experimenting. Printing is not just about books—it’s about building resilience as a creator.